I did a very small clip showing how responsive the tablet feature is for 2730p on leopard.
How to install Mac OSX 10.5.7 on hp Elitebook 2730p (dual boot with win7)
I will go through how you could dual boot Mac OS X + Win 7 on a Elitebook 2730p
Requirements
- Win7 is already installed
- Free partition (for Mac OSX)
- USB flash drive (8GB or more)
- Another USB flash drive with bootable Win7
- OSX86 Tools
- An existing Mac (for preparing the USB)
- Mac OSX distribution (iATKOS, iDeneb, Jas, etc) (Disclaimer: This is for experimental purposes, if you like the OS, please buy your own Mac OSX!)
- EasyBCD
- TabletMagic (if you want the tablet feature)
Formatting Free Partition
Steps
- Open Up Computer Management and go to Disk Management
- Right Click on the partition for installing Mac OSX, Select Format(you can choose any file system FAT32, NTFS, doesnt really matter)
Preparing for bootable USB with Mac OSX (from an existing Mac OS)
- Go to Applications, select Disk Utility

- Plug in your USB
- On the left pane, you should see your USB drive, select it and click on the Erase tab on the right
- Choose Mac OS Extended for the Volume Format and give it a name (in my case OSX), Click on Erase
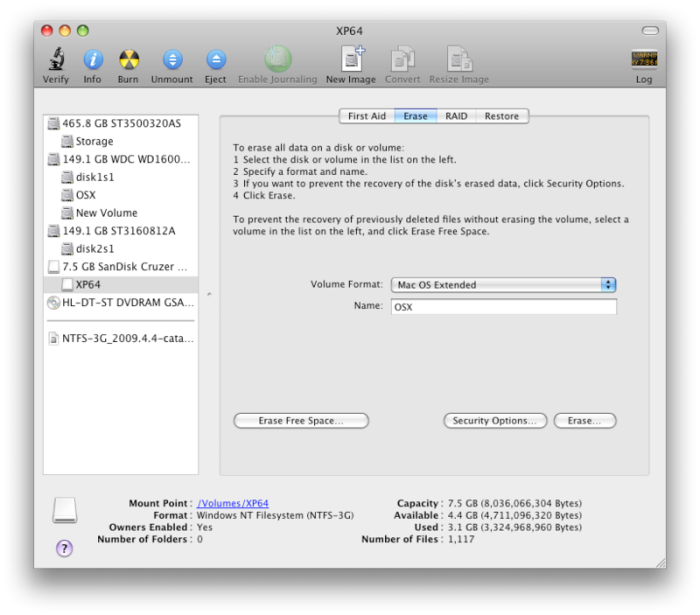
- Click on Erase again when prompted whether to erase
- Double click on your Mac OSX distribution ISO image (iATKOS_v7.iso in my case)
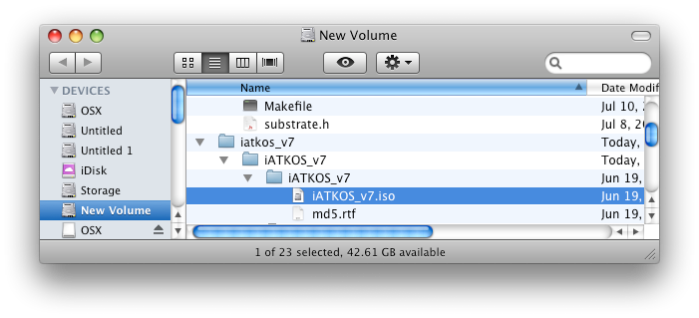
- You should see the iATKOS_v7 on the left pane
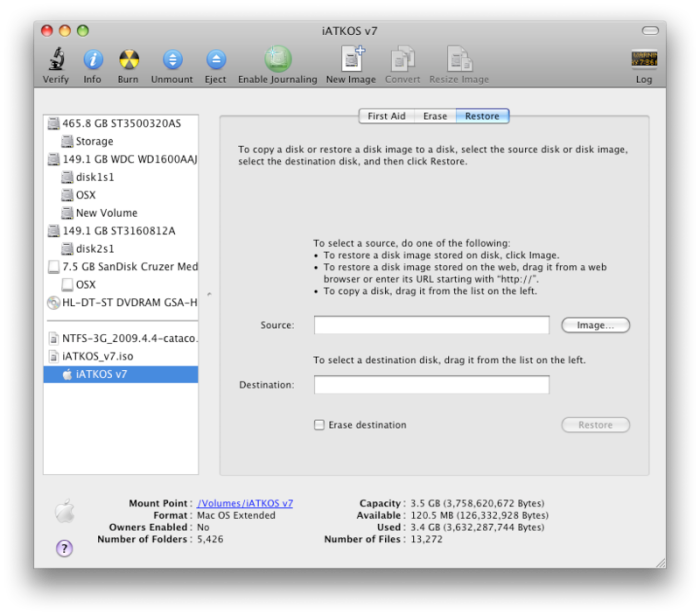
- Now click on the Restore tab and 1)drag the iATKOS icon to the Source and 2)drag the usb flash drive icon to the Destination
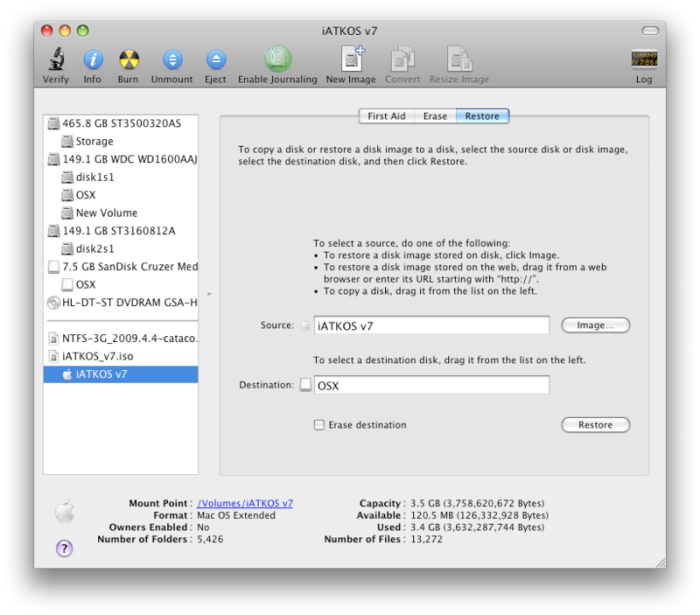
- Click on Restore
- Click on Restore again when prompted
- Run the OSX86 Tools Utility
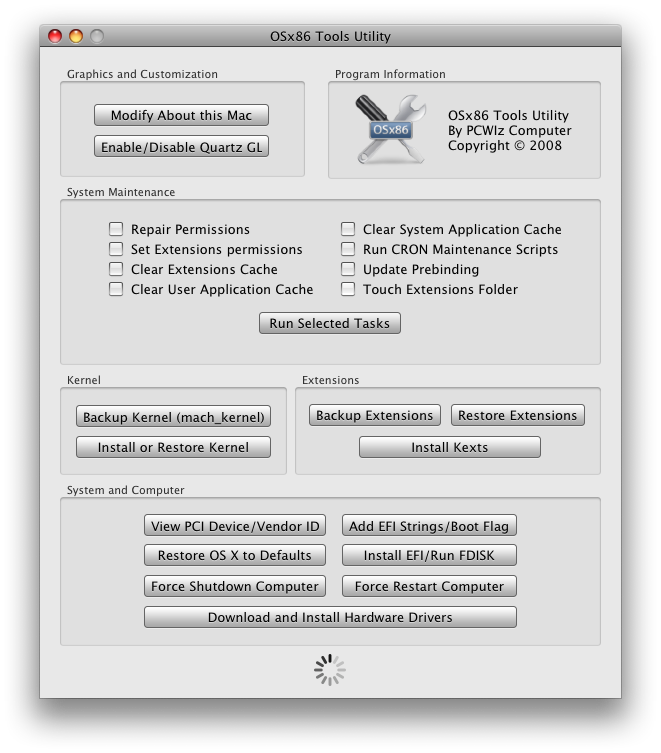
- Click on Install EFI/Run FDISK
- Choose your newly “restored” USB under the Disk to Use (I changed the name from OSX to OSXUSB in my case so as not to confused with my harddisk) and click on Install EFI
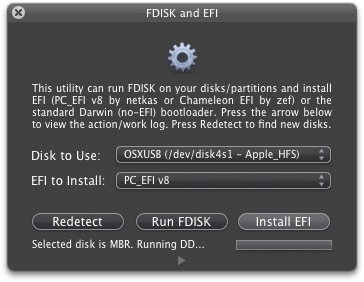
- And you are done preparing the bootable USB flash drive!
There’s also a method for preparing the USB from win xp, you can search around for that if you need it.
Installing Mac OS
- Restart your Elitebook, press F9 when you see the HP logo (1st screen)
- Select USB Hard Drive (If you don’t see USB Hard Drive there, restart and press F10 and select it under the Boot configuration)
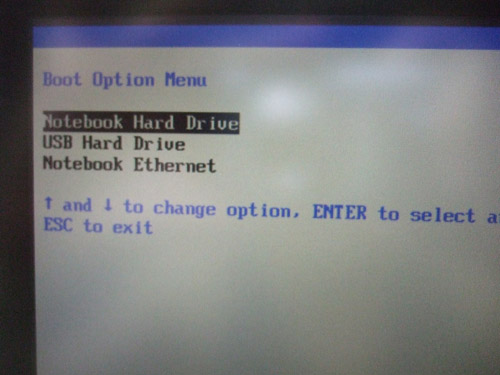
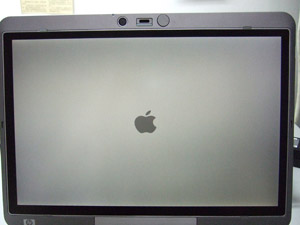
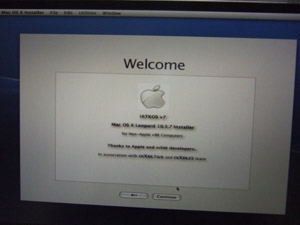
- It should now boot up using the USB you have previously prepared and you should see the Apple white screen
- When you see the first screen with a menu bar on top, select Utilities -> Disk Utility
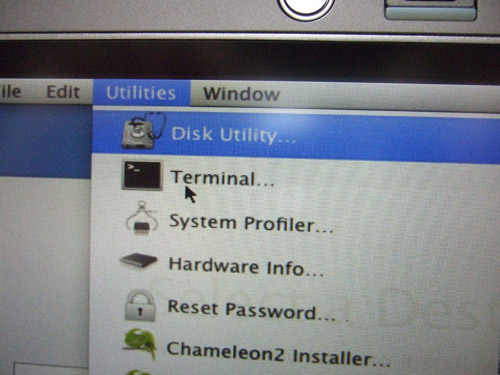
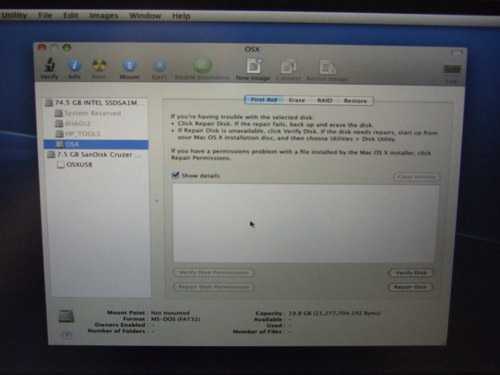
- On of left pane of the Disk Utility window, select your free partition
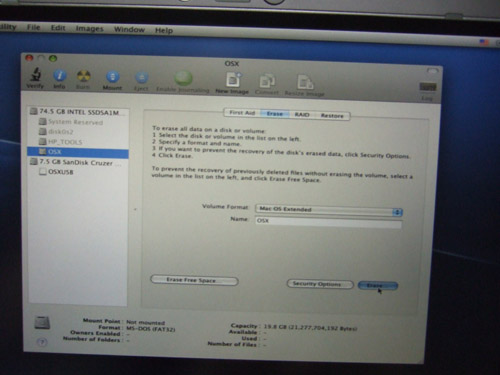
- Select the Erase Tab, Choose Mac OS Extended (I tried with Mac OS Extended(Journaled) also), give a name, then click on Erase
- Step through the installation again under you reach this screen. Select the Destination (the partition you previously formatted) and click Continue
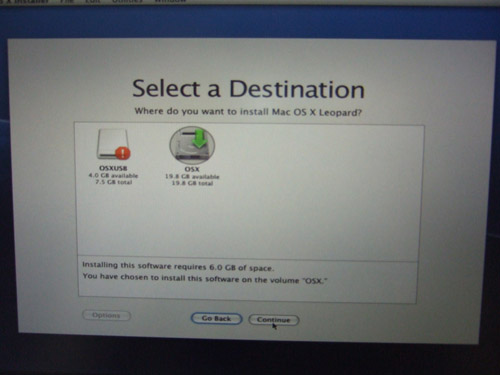
- (Important) When you reach the Installation Summary Screen, click you Customize
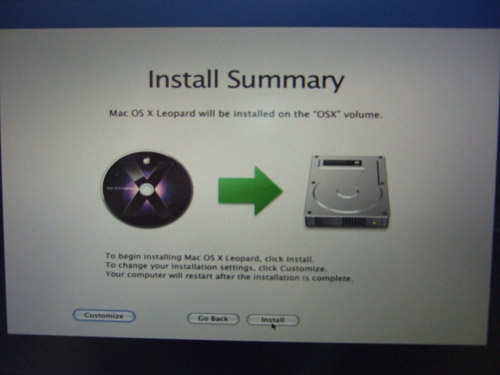
- You will need to select a couple of things:-X86 Patches – > OHR-Driver -> System->USB-Driver -> System->Sound->Voodoo HDA driver-Driver -> System->PS/2 mouse/keyboard->Apple PS/2 driver-Driver -> System->Laptop battery-Driver -> System->NTFS-3G-Network ->Wired->Intel(DO NOT check -Network ->Wireless)
- When you are done go back to Installation Summary page and click on Install(It should take around 15 mins to install)
- And you are done installing Mac OSX
Bootmgr is missing problem
You might encounter this problem after you have installed Mac OSX and during the first boot. Do not panic, use your usb (with the bootable win7) (refer to this for how to prepare such a usb). When you have boot up using the USB, choose Repair, it should prompt saying that there’s something wrong with your boot files etc). This will restart your system.
Dual Boot Using Win7 Bootloader
- Go into Win7, download and install the EasyBCD
- Click on the Add/Remove button, Add in an entry for your mac (Select Mac for the tab and Generic Mac, give it a name)
- Save and reboot your com
- Now your elitebook able to dual boot with Win7 + Leopard 🙂
Getting the Tablet to work
- Install TabletMagic
- Go to System Preferences, Run TabletMagic
- Select serial0 for the Port
- Click on the TabletPC tab, Click on Enable Digitizer (Your comp should reboot)
- You might encounter an error message when you boot up, if so, continue with Step 6
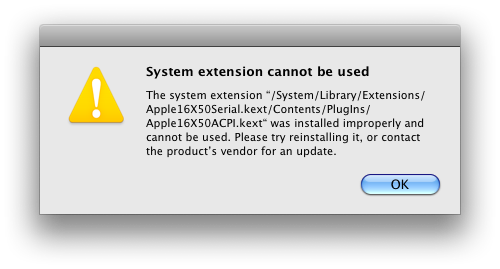
- Open up Terminal type incd /System/Library/Extensions/Apple16X50Serial.kext/Contents/PlugIns/Apple16X50ACPI.kext/Contents/sudo chmod 644 Info.plistsudo chown root:wheel Info.plist
- You could have problem with the alignment, just play around with the configuration on the Mapping tab
What’s not working
- Wireless
- Graphics card is not detected
- Sleep
Bios Settings
How to install Win7/Vista (64bit) on a Hp Elitebook 2730p (on usb)
I spent like almost 1/2 of the weekend trying to figure out how to install a 64-bit OS. Initially wanted to install win xp x64 edition using usb which for some reason just doesnt work. (Problem: it didn’t allow me to choose my harddisk for windows installation, instead I only see the thumbdrive as the only possible installation partition)
In case you are interested for preparing a bootable USB for win xp, there are a few options:
1) WinSetupFromUSB (http://www.msfn.org/board/index.php?showtopic=120444)
this provides a very dummy proof GUI for you to build a bootable windows installation (as if it were installation from a DVD/CD but at a much faster speed)
2) USB_Multiboot (http://www.msfn.org/board/index.php?showtopic=111406)
this has a automated command prompt-based installer
Anyway back to the main topic, I will go through how you could install win7 (64bit) using a usb using a 32bit winxp system to prepare the USB.
Requirements
- USB flash drive (min. 4GB)
- Windows 7/Vista dvd or the installation files
- An existing windows OS (winxp 32bit or vista 32bit) – notice that I’m try to prepare for a 64bit OS
(if you wants to prepare a bootable win7/vista USB having the same bit, please follow this guide instead: http://www.intowindows.com/how-to-install-windows-7vista-from-usb-drive-detailed-100-working-guide/) - Bootsect for 32bit architecture (I uploaded a copy here)
- HP USB Disk Storage Format Tool (you will need this for formatting your usb if you are using win xp, if you are using vista, you can format using diskpart – for details follow the above guide)
Steps
- Plug-in your USB flash drive (and back up your existing data to a local harddisk if necessary)
- Install the HP USB Disk Storage Format Tool
- Format your USB flash drive using the HP USB Disk Storage Format tool
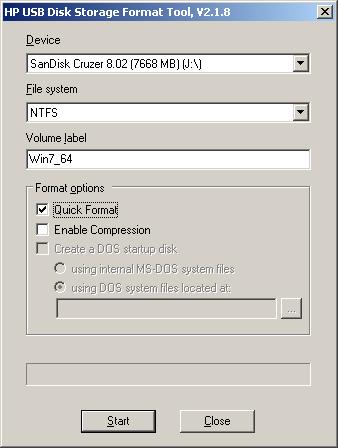
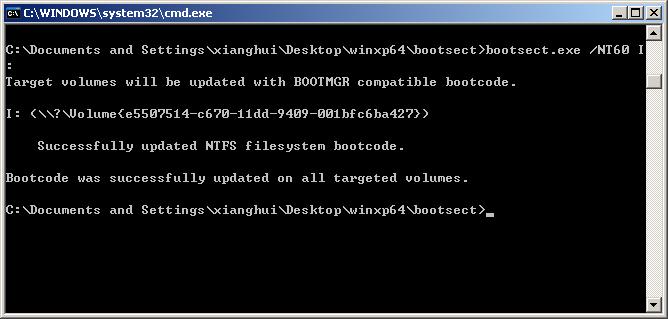
- Download the Bootsect file (which i attached on top), extract it to some path (e.g. C:\Documents and Settings\xianghui\Desktop\winxp64\bootsect) in my case
Take note of your USB drive letter (in my case I:\, ignore the J:\ in the previous screenshot, I artificially plug-in the USB to take a screenshot)
Press the Start menu, and press ‘R’ (i.e. execute Run), type “cmd” (without the quotes), then
cd <path of where you extract your bootsect>
bootsect.exe /NT60 <your usb drive letter>:
e.g. bootsect.exe /NT60 I:
- Copy all the files in your Win7/Vista DVD over to the USB. You are done with the preparation of the USB 🙂
- Boot up elitebook using USB (press F9 at the start when you see the black HP logo screen and select USB Harddisk)
It should boot up using your USB. - Follow through the windows installation process. You are done! 🙂
Edited:
If you are still having problem. Try installing WinSetupFromUSB, and use the RMPREPUSB to format your USB drive, and proceed to copy all the files (you don’t need to do the BOOTSECT step)
This is a much easier


