I decided to write an article on installing snow leopard on VM since I spent quite a big of time trial and error. (And also as a record for myself).
Most of it is taken from http://www.taranfx.com/install-snow-leopard-virtualbox together with some of my experience.
Requirements:
- Windows XP 32bit system (tried on Win7 x64)
- Virtualbox v3.2 Beta 3 (v3.2 Beta 1 doesn’t work properly on win7 64bit)
- Leopard distro (iAtkos 7, iDeneb v1.3 10.5.5, etc
(I tested and both iAtkos 7 and iDeneb v1.3 seems to work, didn’t test the rest) - Snow Leopard Retail CD converted to ISO format so that you can mount the image on virtual box
(If it’s in DMG format, use UtraISO or PowerISO to convert it to ISO) - Download and attach this Addon Util image[iso]. (contains few Kexts, utils). (link taken from taranfx)
Basically how we go about installing snow leopard on virtualbox is to first install leopard on a “harddisk”(virtualbox harddisk) and then boot up leopard and install snow leopard on another virtualbox harddisk. Installing leopard is generally no problem if you set the virtualbox settings correctly.
Install Leopard
I tried installing leopard for virtualbox 3.1.2, 3.1.4, 3.1.8. Didn’t try for 3.2 beta though, just upgraded my virtualbox and it still works, I believed it should be the same for 3.2. But in case it doesn’t install leopard using virtualbox 3.1.4 and then install virtualbox 3.2 over it.
Virtualbox Settings:
One new feature of Virtualbox is support for Mac OS X. Choose Mac OS X. Choose BSD/FreeBSD for Operating System/Version for versions earlier than 3.2.
Under System
- Boot Order, check “CD/DVD-ROM”
- Check “Enable IO APIC”
- Probably you want to choose 1gb or more for the Base Memory
- For Processor, choose 1 (or more – if it doesn’t work, choose 1)
- For Acceleration, check “Enable VT-x/AMD-V” (This is very important, if your computer does not support this option, you will not be able to install successfully or even reach the leopard installation screen)
- you can check “Enable Nested Paging” (this shouldn’t matter from my experience)
Under Display(optional)
- Enable 3D Acceleration
Under Storage
- Add a IDE Controller and a Harddisk under the IDE controller for installing Leopard (10gb or more)
- Add a CD/DVD device and select your leopard distro image
- Make sure the IDE Controller type is “ICH6”
Under Network
- Check “Enable Network Adapter”
- Choose “Bridge Adapter” (it should work for NAT etc also – you can change the settings for this, I don’t think it matters)
Under Serial Port
- Uncheck “Enable Serial Port” (default settings, I didn’t test with serial port)
Under USB
- Check “Enable USB Controller”
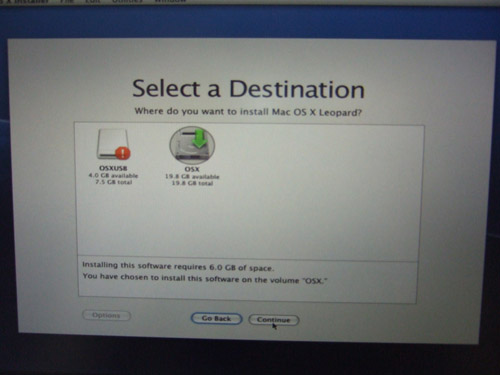
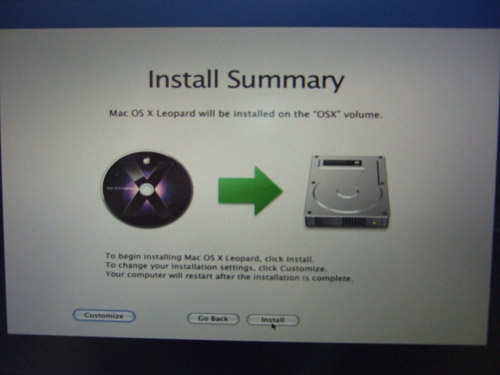
Installation process is straight forward.
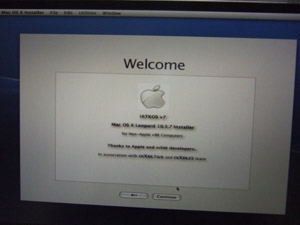
- Power Up your VM and boot up the leopard distro and follow through the normal installation process (refer to https://xhdev.wordpress.com/2009/08/18/how-to-install-mac-osx-10-5-7-on-hp-elitebook-2730p-dual-boot-with-win7/ if you need help)
- If you are using iAtkos 7, you need to choose System->PS/2 mouse/keyboard->Apple PS/2 driver-Driver (there should be 3 options under this section, select only 1)
- You might want to choose Ethernet driver (based on your Virtualbox Network settings), I chose the Intel ethernet drivers
- When you’re done, it will want to restart your (virtualbox) machine
- Allow it to restart and power off your system
Install Snow Leopard
The VM settings should be the same except that now you need to add another IDE harddisk under the IDE controller for your snow leopard installation and you need to moun the Util.iso and the Snow Leopard image.
You also need to choose the Boot Order to Hard Disk instead of CD/DVD-ROM
- Power up your VM
- Boot up your Leopard as usual (go through the usual registration process)
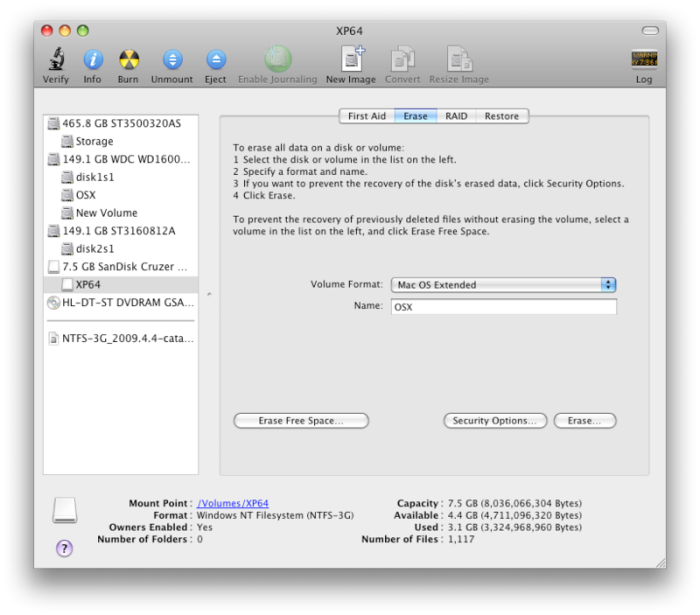
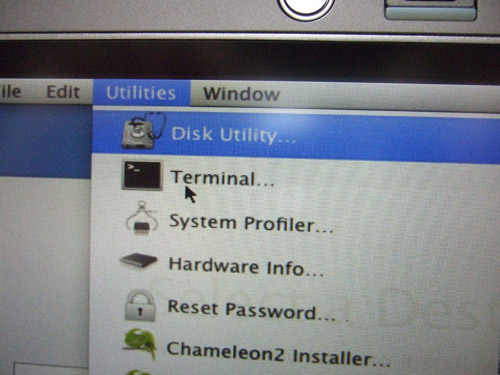
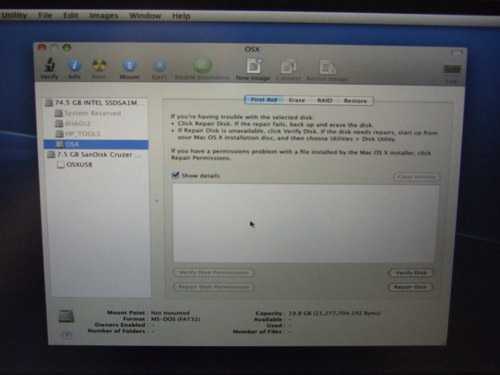
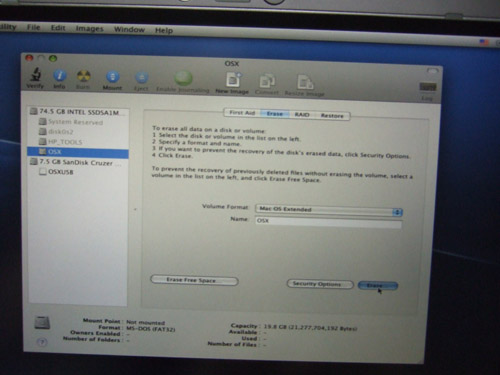
- When you are on Leopard, Open up your Disk Util under Utility and format your snow leopard harddisk using the Volume Format Mac OS Extended(Journaled) (Assume the name given is “Snow”)
- You should see the MacUtils on your leopard, open it and run the “unHideIt” application (you might need to do this twice)
- Open you the Snow Leopard disk and browse to /System/Installation/Packages and run OSInstall.mpkg (note that there’s also another OSInstall.pkg, make sure you run the correct one if not you will not see the snow leopard installation screen)
- Install Snow Leopard (you might want to customize your installation according to your needs – e.g. removing the printer drivers)
- Install Chameleon which is found in the MacUtils to Snow Leopard drive. Refer to this if you need help installing Chameleon (Correction : Step 3 should be sudo dd if=boot1h of/dev/rdisk0s2)
You should do these changes to /Volumes/Snow:
- Remove /Extra/Extensions (if any)
- Copy from MacUtils/Mac/Extra/Extensions to Extra/Extensions
- Delete SMBIOSResolver.kext
- Copy from MacUtils/Mac/System/Library/Extensions to System/Library/Extensions
- Navigate to System/Library/Extensions and delete “AppleIntelCPUPowerManagement.kext”
- Fix permissions by using Terminal (from Applications > Utilities):
su
cd /Volumes/Snow/System/Library
chown -R root:wheel Extensions/
cd /Volumes/Snow/Extra
chown -R root:wheel Extensions/
kextcache -a x86_64 -K /Volumes/Snow/mach_kernel -m /Volumes/Snow/System/Library/Extensions.mkext /Volumes/Snow/System/Library/Extensions
kextcache -a x86_64 -K /Volumes/Snow/mach_kernel -m /Volumes/Snow/Extra/Extensions.mkext /Volumes/Snow/Extra/Extensions
(taken from taranfx)
Note: Keep your Leopard machine as there might be some problems with your snow leopard partition and you might want to edit it.
Configure Snow Leopard
Create another machine on Virtualbox with the same settings as before except that there’s some changes to the storage (the Leofx name in the pic would be better named as Snow Leopard or something) (snow.vdi in my case is my snow leopard harddisk)
- Power up your system and boot snow leopard with the -v option (type -v when you are at the Chameleon boot screen so you will be able to know if there’s any problems)
- My experience is that different machine has different kinds of problems
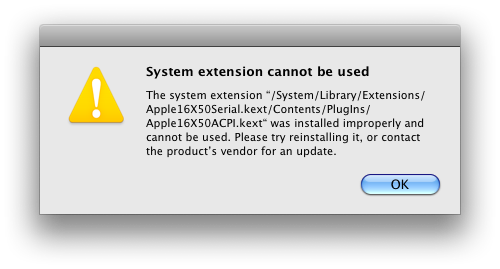
- If you get some error messages while loading some kext, power up the previous leopard system and access your snow leopard volume and go to System/Library/Extensions and delete the kext, usually those kext will be in another color (Red or Orange etc) – backup and delete it, then boot up your snow leopard machine
- From my experience, i get slightly different problems on my Win7 x64 and Win xp so it’s quite difficult to set exactly what needs to be deleted etc
- You might also get problems with DSDT (refer to http://www.projectosx.com/forum/index.php?showtopic=121, basically you have to copy the dsdt.dsl to your /Volume/Snow root directory)
- You can update to 10.6.3 through the usual Software Update on Snow Leopard. However, you might need to boot up your leopard machine and remove the DMOS.kext from /System/Library/Extensions because it will have some DMOS kext loading problem.
Some of the details might not be very details and accurate because I’m writing this based on what I remember from my few days of frustrating experience.
Sound
Check out http://forums.virtualbox.org/viewtopic.php?f=4&t=30843 and try the manual method. The first package didn’t work for me. Works for 32-bit OS. Didn’t work on Win7 64bit.
What doesn’t work?
- sound
- virtualbox shared folder (there’s no installation package for Mac) 0 refer to bottom for guide how to share folder
- Taking screenshot
Share folder between Windows and Mac (on VM) both of them have to be on the same network, your Mac (on VM) will be connected to the network as if it were another physical machine
- Go to System Preferences->Network
- Select your connected connection
- Click Advanced…
- Select WINS
- Type in the same workgroup as your windows system
- Create a share folder on windows (let’s call this “win_machine”)
- On Mac, Go->Connect to Server…
- Type “smb://win_machine” (without the quotes)


